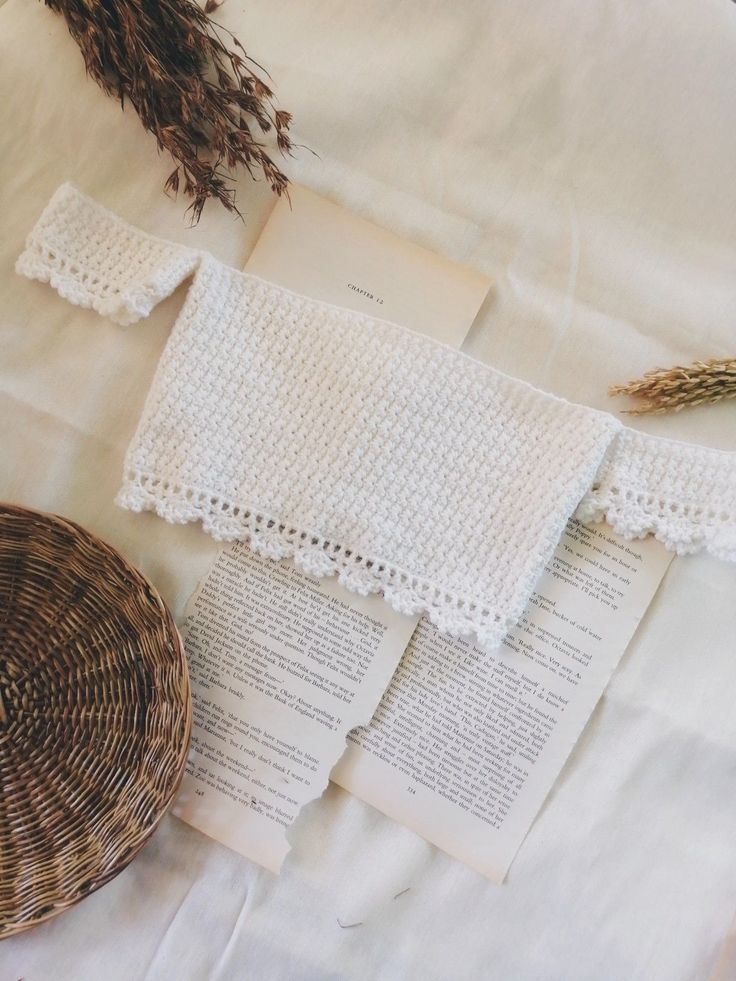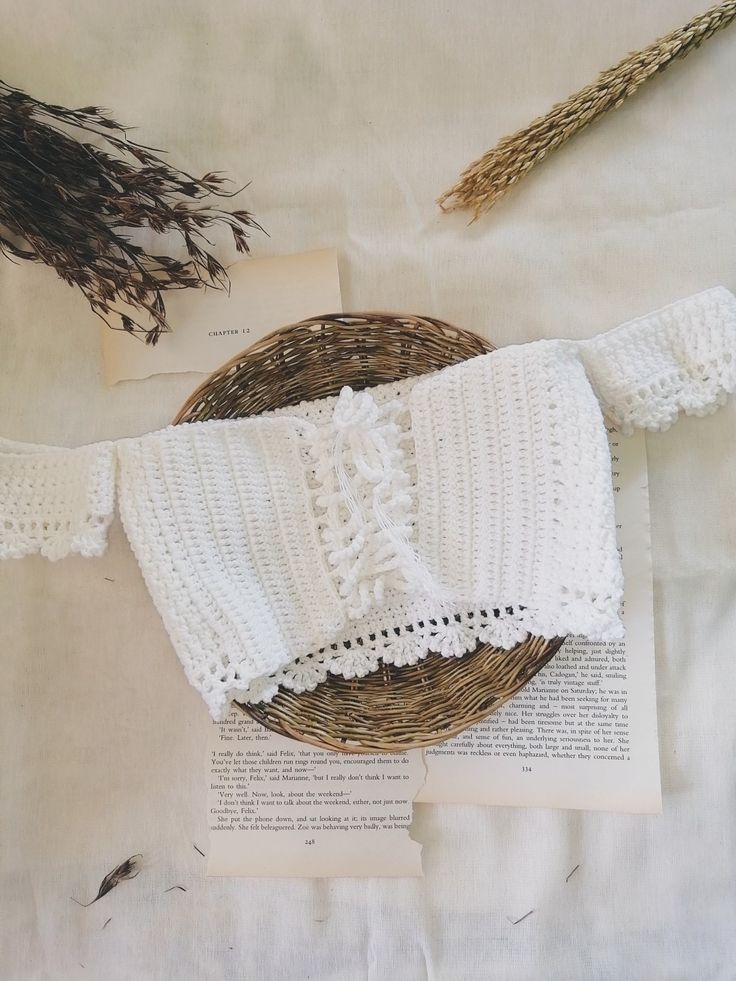
The Isla Crochet Crop Top: A Beginner-Friendly Pattern
Ready to welcome warmer weather and summer vibes? Then I have a free and easy, beginner-friendly crochet pattern for you! If you’re like me, you’re itching to get your hands on brightly-colored yarn and quick projects to get you through the colder months (ahem, I live in the desert so it’s not that cold, but still comparatively to the summer here, it definitely is!). Scroll down for an easy step-by-step tutorial and you’ll be crocheting in no time! No skills required (but a couple of basic materials).

Materials
- 5mm crochet hook. I love this brand.
- a skein worsted weight 4 yarn in a color of your choice. My favorite brands are Loops & Threads Soft Classic, Big Twist Value, Caron One Pound, and Caron Cakes. yardage
- stitch markers
- scissors
- tapestry need for weaving in ends. I love these.
Terms
ch= chain
st= stitch
sc= single crochet
Pattern
Body Panel
Chain the length of your torso from back of your ribcage to the other side. For reference I typically wear an XS and chain 80.
row 1: sc into the first chain from the hook and across. ch. 1, turn.
row 2: sc into first st (under both loops), and continue across. ch 1, turn.
row 3: continue repeating row 2 until you have the coverage you desire. These rows make up the length so be sure you like how the top sits before moving forward! for reference, I did [x] rows. Do not bind off or cut yarns. Move into next step.
Corset Back
Ch 150, or length you need for the first tie. this will be the lacing up the back. Then sl. st back down.
Next, sc across back panel until you get to end, then repeat steps for first lacing. Tie off.
Now lay your top down flat with the back facing you. fold it so it lays how it would when you’re wearing it. Place stitch markers approximately where you’d like the lacing to go, repeat for each side, making sure both side align and are even.
Now, Pull you crochet hook from top to bottom through the first markers stitch, grab your yarn tie and pull through. Continue this, alternating sides until you’ve gotten your back laced up. Try it on to make sure you like the fit. Attack stitch markers where you’d like the sleeves to sit.
Sleeves
row 1: Attach yarn at stitch marker on the front side. Ch. the number needed to fit over your shoulder and to the back of the body. I chain 52. slip st into stitch marker st. make one sc next the the sl. st. in the direction of the sleeve (away from the body of the top).
row 2: sc back across strap. sc into back body, then sc one next to it.
row 3: repeat row 2
row 4: now instead of going back across the strap, we are now going to crochet in the round to create the sleeve. sc across the underarm or body part of the panel. When you get to strap, DC across strap.
Row 5: Repeat row 4.
Row 6: Starting here, we will DC across all stitches.
Row 7-12: repeat row 6.
Row 13-17: we will start decreasing here. *DC 4, then 1 decrease (1 dc2tog).* So you are decreasing every fifth st.
Row 18: sc 4, then 1 sc2tog (decrease). Continue this until you reach the desires fit of the sleeve. I decreased until I had 29 stitches left.
Finally, do a single row of sc to finish of the sleeve. Tie off.
For the second sleeve, repeat these same steps, but attach the yarn from the back panel so you are working in the same direction.
Weave in ends.
And you’re done!